Showing posts with label alum. Show all posts

Tuesday, 23 April 2013

How to Make Blue Using Black Turtle Beans

When I first started dyeing wool, I thought that blue could only be obtained from indigo and woad, both of which I would have to buy on the internet. However, when I was trying to find a good way of making green, I stumbled across this blog, where a nice lady called Cynthia somehow makes a beautiful green dye using dried black beans. I used almost the exact recipe (apart from the amount of beans, which I just guessed), and discovered my first blue.


I can't be exact while describing how I made this colour, because I never weighed the beans or measured the amount of water I used. Silly me. However, after creating the second, darker type of blue (below), I realised that the concentration of the dye was more important than the weight of beans that I used. For both colours I used alum as a mordant. (See this post for a tutorial on preparing yarn for dyeing).


For the light blue, I used approximately 150g of beans and spread them across the bottom of a large tupperware tub (about 7" x 12"), then I added about an inch of water. I soaked the beans for 12 hours, drained the water and put it to one side, then added another inch of water. I drained this water also and used both lots together to dye 25g of wool. After about 12 hours I added another 25g skein of wool, and a few hours after that I added yet another 25g skien. The first skein was soaked for about 24 hours, with the others removed at the same time. They all came out almost exactly the same colour. 

For the dark blue, I used about 100g of beans in a much smaller tub. This one was about 6" x 8" (a typical Chinese take-away tub if you live in the UK) and only just one inch deep, so I filled it almost to the top and followed the same process of soaking the beans for 12 hours, twice. This time the amount of liquid I ended up with was just over a jarful, so not very much. I soaked a 25g skein of wool for 48 hours. The jar was also in sunlight for part of the day (when I made the other blue there was barely any sun) so this may have had an effect on the intensity of the colour, but I think it's more the fact that the dye was more concentrated. 


As usual, leave a comment if this isn't clear enough and I will do my best to help!

- Kate

Wednesday, 10 April 2013

Vegetable Dyes Mordanted with Alum


Onion peel is great fun. You do not need 100g per 100g of yarn though! Even the peel from 1 or 2 onions will give quite a deep colour. As you can see, red onions give a browner colour, whereas normal onions give a more golden colour. 

I have also tried cold dyeing with onion peel (below).

This definitely needs an attempt 2! I think a deeper colour (possibly more yellow than green) might be the result of a cold dyebath.


Compared to the amazing colour of the dyebath, these colours were quite disappointing! The dye looks amazing, it's a vibrant purple/blue colour, but just doesn't seem to stick to the yarn very well. 


Does this count as a vegetable? I'm not sure but it had to go somewhere! My boyfriend bought me a bunch of roses (aw) and I didn't want to throw them away when they died so I made a dye. Each dyebath used the heads of 6 roses. I won't bother with a hot dyebath again, because the colour is so similar to the brown from red onion peel, but the colour from the cold dyebath is quite a sweet lavender purple so if I'm lucky enough to get more roses (hint hint) I may do it again.


Thanks for reading!
- Kate


Tuesday, 2 April 2013

Fruit Dyes Mordanted with Alum

Here are some photos from my dye book showing the fruit dyes I have made:

Skin of one passion cut off and simmered for 1 hour, then 25g of wool simmered for one hour. This is a beautiful soft green and I can't wait to try it again. This is NOT from an orange passion fruit, just the usual purpley coloured ones.

]
These blackcurrants were from my pack of frozen 'black forest fruits', I used as many as I could find and didn't weigh them but I suspect it was about 75-100g to just two 25g skeins of wool. I simmered these straight from frozen so had to use a potato masher to squish them in the pan. These were my first bright/deep colours and I love them. The second more purple colour uses the same dyebath, but after the first skein had taken most of the bright colour. I think it's quite interesting as you wouldn't have guessed they were from the same dye! Let me know if you are interested in variegated wool and I will make a photo tutorial :)

I used 50g of red grapes to dye these skeins. It doesn't show well in the photo but the dipped parts of the second skein are a lovely pale blue.

I used a different wool here and I think it is more susceptible to dye. Unfortunately it costs a lot more so I haven't done very many experiments with it!


I used four avocados for this, I think I got a bit carried away! Both skeins were only 25g. The second time I dyed using the avocado pits (below) the colour was completely different, so I think I might have burnt the dye! I would advise cold dyeing with avocado, it seems to be a bit more reliable.


Love this one! The writing says: 
"1 - Simmered with turmeric for 10 minutes (a), then simmered in blackcurrant for 1 hour.
2 - Turmeric and blackcurrant in same dye bath, simmered for 1 hour."


Thanks for reading!


Thursday, 28 March 2013

How to Dye Yarn with Natural Dyes

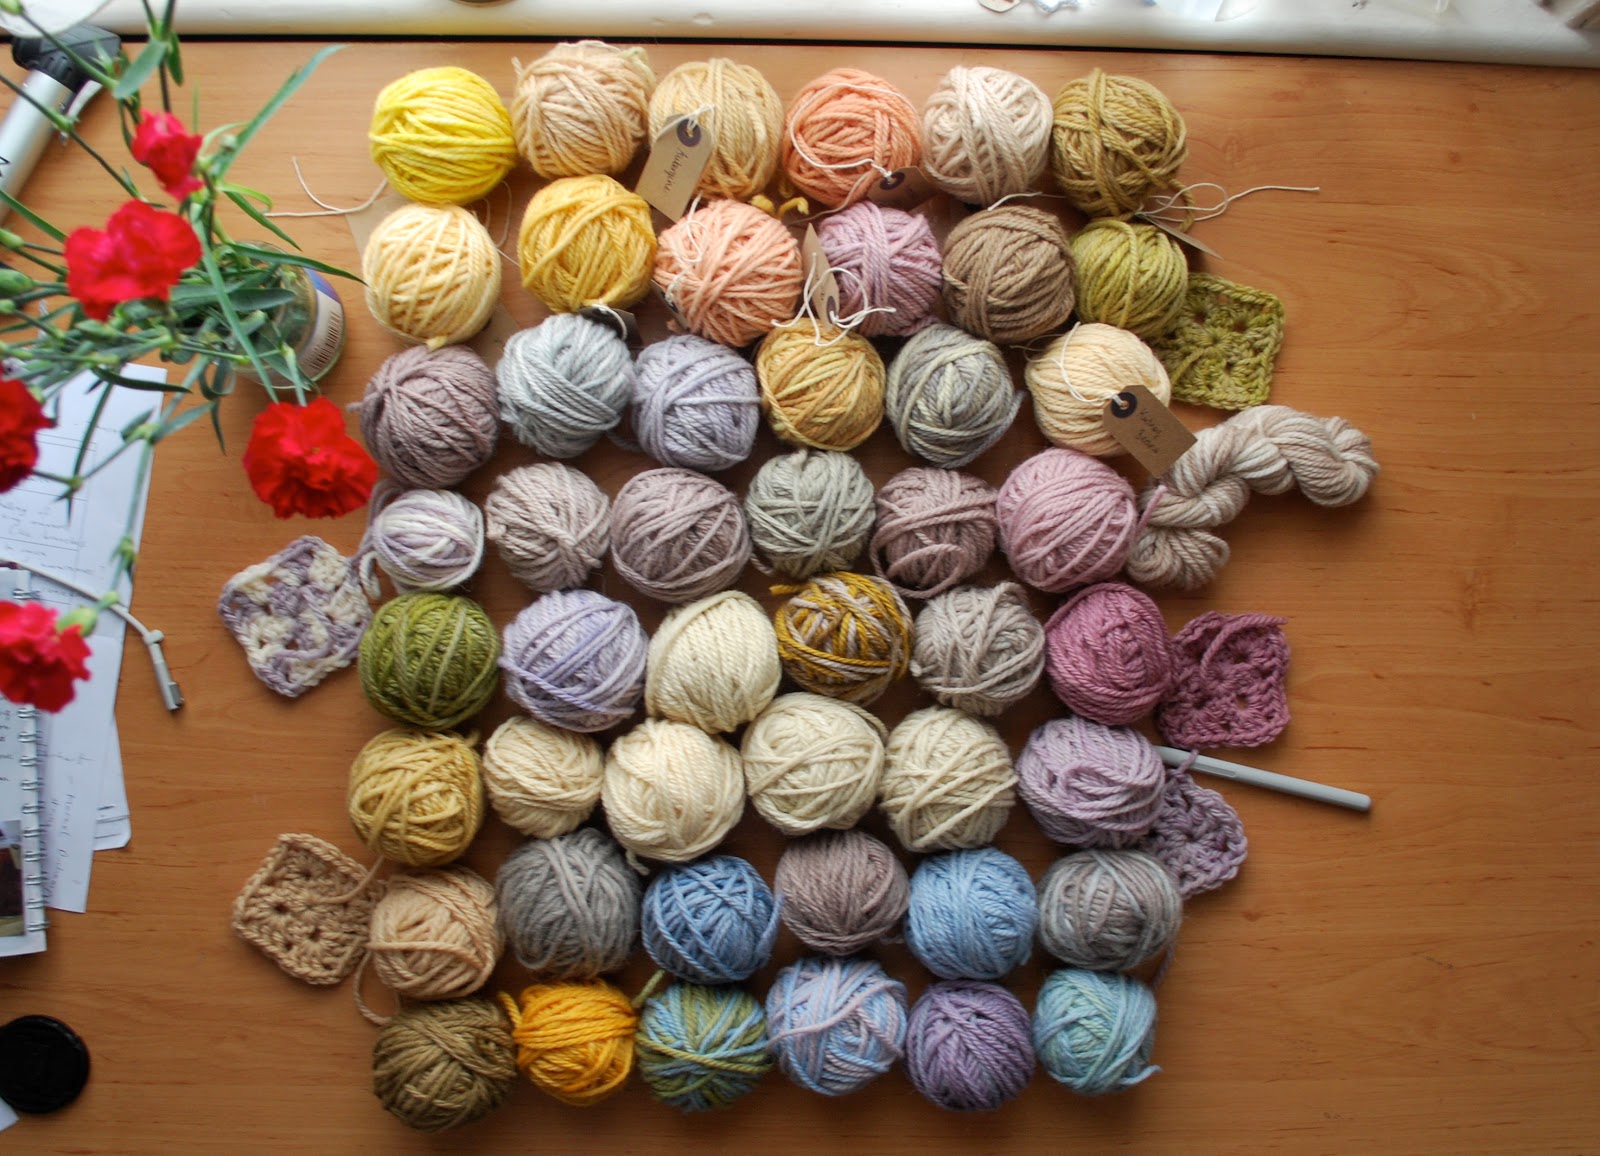
When I first looked into natural dyeing it seemed so complicated and I didn't think I'd ever be able to do it. Once I'd figured it all out, I realised it's actually quite simple, so I decided to write a tutorial for anyone else who thinks the whole thing looks very exciting but a bit too complicated. I've never written a tutorial before so please comment or send me a message on my tumblr if something doesn't make sense.


There are 4 main steps:
a) Scour wool
b) Mordant wool
c) Make dye
d) Dye wool

And there are a few more than 4 ingredients:
Yarn - must be 100% or a high percentage NATURAL fibres. This includes wool, bamboo, merino etc.
A few old saucepans - most tutorials suggest a big pot like an old pressure cooker, but it depends how much wool you want to dye at a time. If the wool fits comfortably then it's fine. I say old saucepans because it's best not to eat out of them once they've been used for dyeing (I assume because of unknown chemical reactions, or if using garden plants that might be poisonous...but I don't really know!)
Washing-up liquid
Dye material - anything that you think might have colour in it. I will post a list of things I've used after this tutorial.
A mordant - alum (aluminium potassium sulphate if you want to find it on ebay!), vinegar or salt.
A sieve - should probably also be one you won't use for cooking.
Cream of tartar if using alum


a) Scouring

Essentially this just means to wash wool. It's easy to do, simply soak the skeins of wool in warm soapy water for 2 hours or longer. I use washing-up liquid because it's quite tough so should get rid of the natural oils or any treatments on the wool. Rinse in cold water afterwards. It's best not to go from cold to hot temperatures too quickly because the wool will start to felt.


b) Mordanting

There are a few different options here, but alum is the safest (no fumes) and most consistently satisfying that I've used. Other options are salt (for berries or fruit-based dyes), vinegar (for vegetable and other plant dyes), or iron sulphate (I've never used it but apparently it 'saddens' colours).

To mordant with alum, use 8g of alum and 7g of cream of tartar per 100g of wool (weighed dry). My scales are awful so my amounts are probably horribly off and it still works, so don't stress about making the weights super exact. Dissolve these in boiling water, then add more water to fill the pot. The website I used suggested a 10 litre pot for 100g of yarn but I forgot about that so ended up dyeing at least 400-500g in my 10 litre pot. It doesn't seem to have made any difference as long as the wool is saturated with water. Add the wool then bring the water to boil and simmer for an hour. If you simmer for longer than this it will start to smell like wet dog, so not a good idea. Either leave to cool and rinse in cold water, or rinse in hot water straight away. Once again, you don't want sudden temperature changes or the wool will start to felt.

To mordant with vinegar use 1 part white vinegar to 4 parts water, put the wool in and simmer for an hour, then rinse. This really smells so make sure you ventilate the room!

To mordant with salt use 1 part salt to 16 parts water, put the wool in and simmer for an hour, then rinse.

The main difference between using salt/vinegar and using alum, is that alum will give deeper and more contrasting colours, whereas salt and vinegar both give pastel colours. I use alum for all of my dyes and if I want a pastel colour I just use a more diluted dye.

c) Making dye

The general rule is 100g of dyestuff to 100g of wool. When you're experimenting that's probably a good place to start, and then once you've got an idea of how it works you can just make it up. NOTE, do not use 100g of onion peel! The peel from just 1 or 2 onions can dye a whole 100g of wool, you don't need very much at all.
Chop up your dyestuff, or mush it up a bit if it's berries and cover with water (about twice the amount of water to dyestuff). Bring to the boil and simmer for up to an hour.


Once it's reached an hour it's unlikely more colour will come out. With stuff like onion peel you only need to simmer for about 10 minutes. Strain the bits out using a sieve.
For beans or other dried things that you need to soak (black beans, for example), soak for 12 hours, drain (and save!), then soak for another 12 hours and use both lots of drained water for your dye.

d) Dyeing

Put the wool into the dye. If you want to be sure that it will dye evenly, wet the wool before putting it into the dye, or wear rubber gloves and squeeze it until it is saturated with dye.


Simmer for an hour. Don't let the dye boil because the agitation will almost certainly felt the wool.
You can also cold dye the wool. I do this using jars, and leave the wool to soak for 24 hours before rinsing it out. Some colours seem to work better with cold dyeing, and others better with hot, it's all about experimentation.
Rinse out the wool and hang it to dry. Wool holds a LOT of water so give it a gentle squeeze before hanging it out to dry or it will take days.


I have a few specific posts on tumblr showing how I used each dye material, so click here for those.

Enjoy!

-Kate


LinkWithin

Related Posts Plugin for WordPress, Blogger...